
Post Grid Elementor Addon is the Elementor plugin to display posts in the grid. In short, it is a simple and useful plugin for displaying the posts in a grid from your blog articles with multiple options.
Key Features
- Multiple customization options and easy to use.
- Fully responsive layout for all devices.
- Create any kind of design without coding.
- 5 layouts for post grid block.
- Multiple features for blog grid block.
- Compatible with all themes.
- And much more…
Default Image
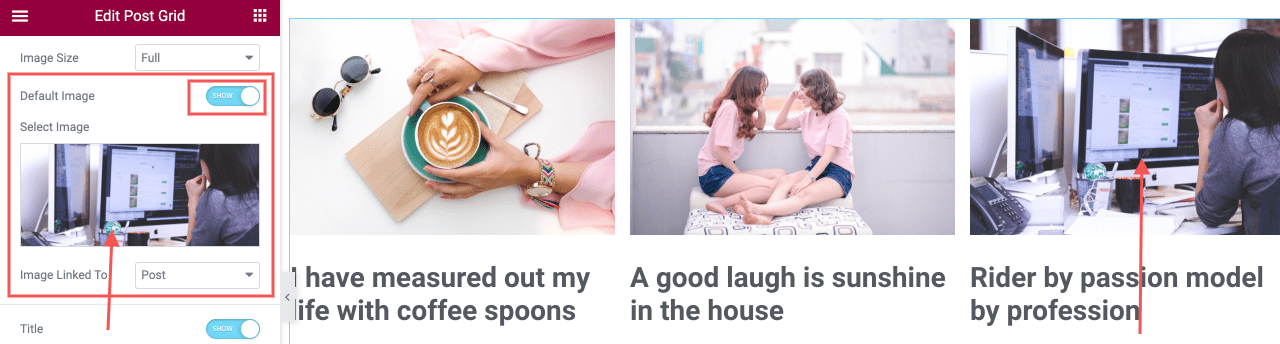
This option allows you to add the default Featured Image. It will be used as a Featured Image for all the posts that do not have a featured image assigned to them. Additionally, it comes with an option to enable or disable link to the post detail page.
Meta Setting
Post Grid Elementor Addon Pro comes with an option to set up meta information with multiple options.

Date Format
Option to change the format of post date.
Comment Link
Option to enable or disable comment link. If enabled, it links to the comment section of that post.
Author Link
It comes with an option to enable or disable the author link. We can choose the author or a post detail page.
Categories/Taxonomy Options
Option to select category or taxonomy, a number of categories and a separator.
Tags Options
Option to tags, number of tags and a separator.
Post Filter
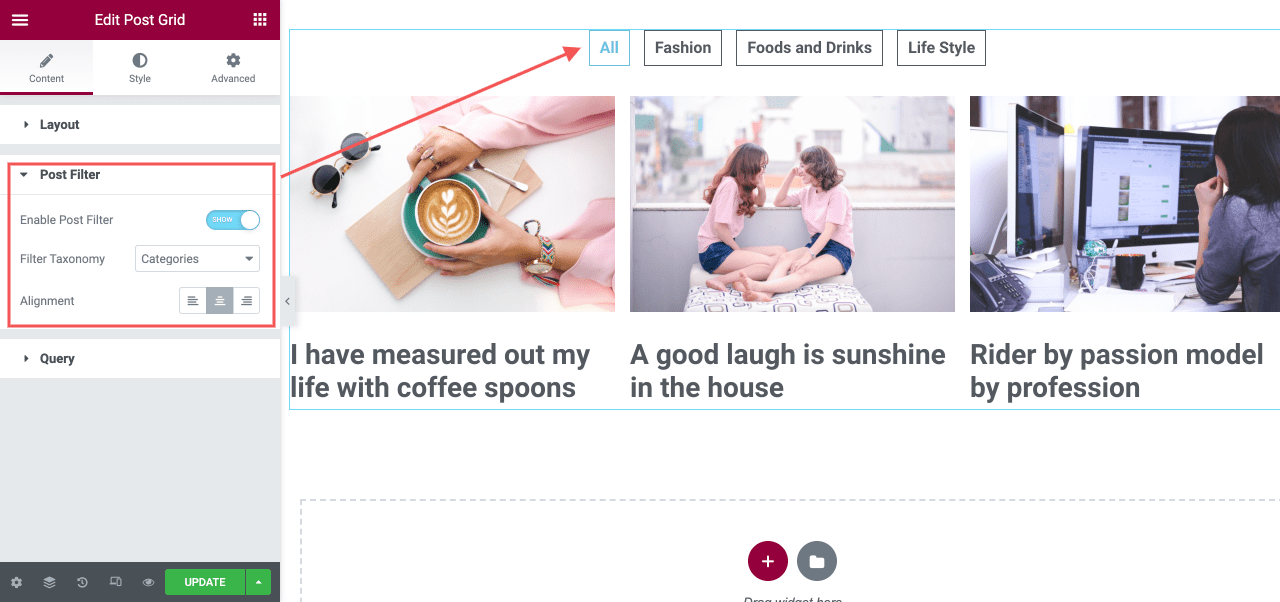
This option allows users to filter the post based on categories, taxonomies or tags. It works with all layouts (6+ variations, WooCommerce and EDD layouts) and other options available in this plugin.
Pagination

It comes with 3 types of pagination.
Ajax – Works without reloading the page.
Normal – Reloads the website for pagination.
Load More – Loads the next set of posts without reloading the page.
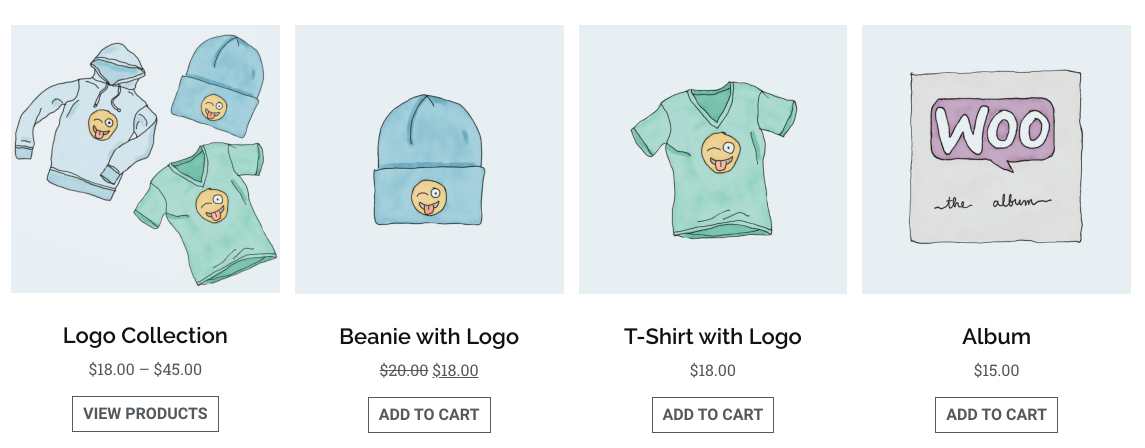
WooCommerce & EDD Support
Query Parameters (Supports Custom Post Type)
Advanced query parameter comes with an option to select posts, pages, and custom post types. You can create a grid of posts from any custom post type. Options to change parameters of the query used to display posts in a grid.

Post Type
Select Posts, Pages, WooCommerce Products, EDD Products or Custom Post Types.
Categories
Select categories and show posts only from the categories selected here.
Tags
Select tags and show posts having tags mentioned here.
Exclude
You can select multiple posts from here to exclude them from the list.
Order By
Option to order posts by Date, Title and Random order.
Order
Order posts in Ascending or Descending order.
Layout with Overlay

Additional layout with background overlay. This layout is perfect for portfolio, showcase and similar type of content.
